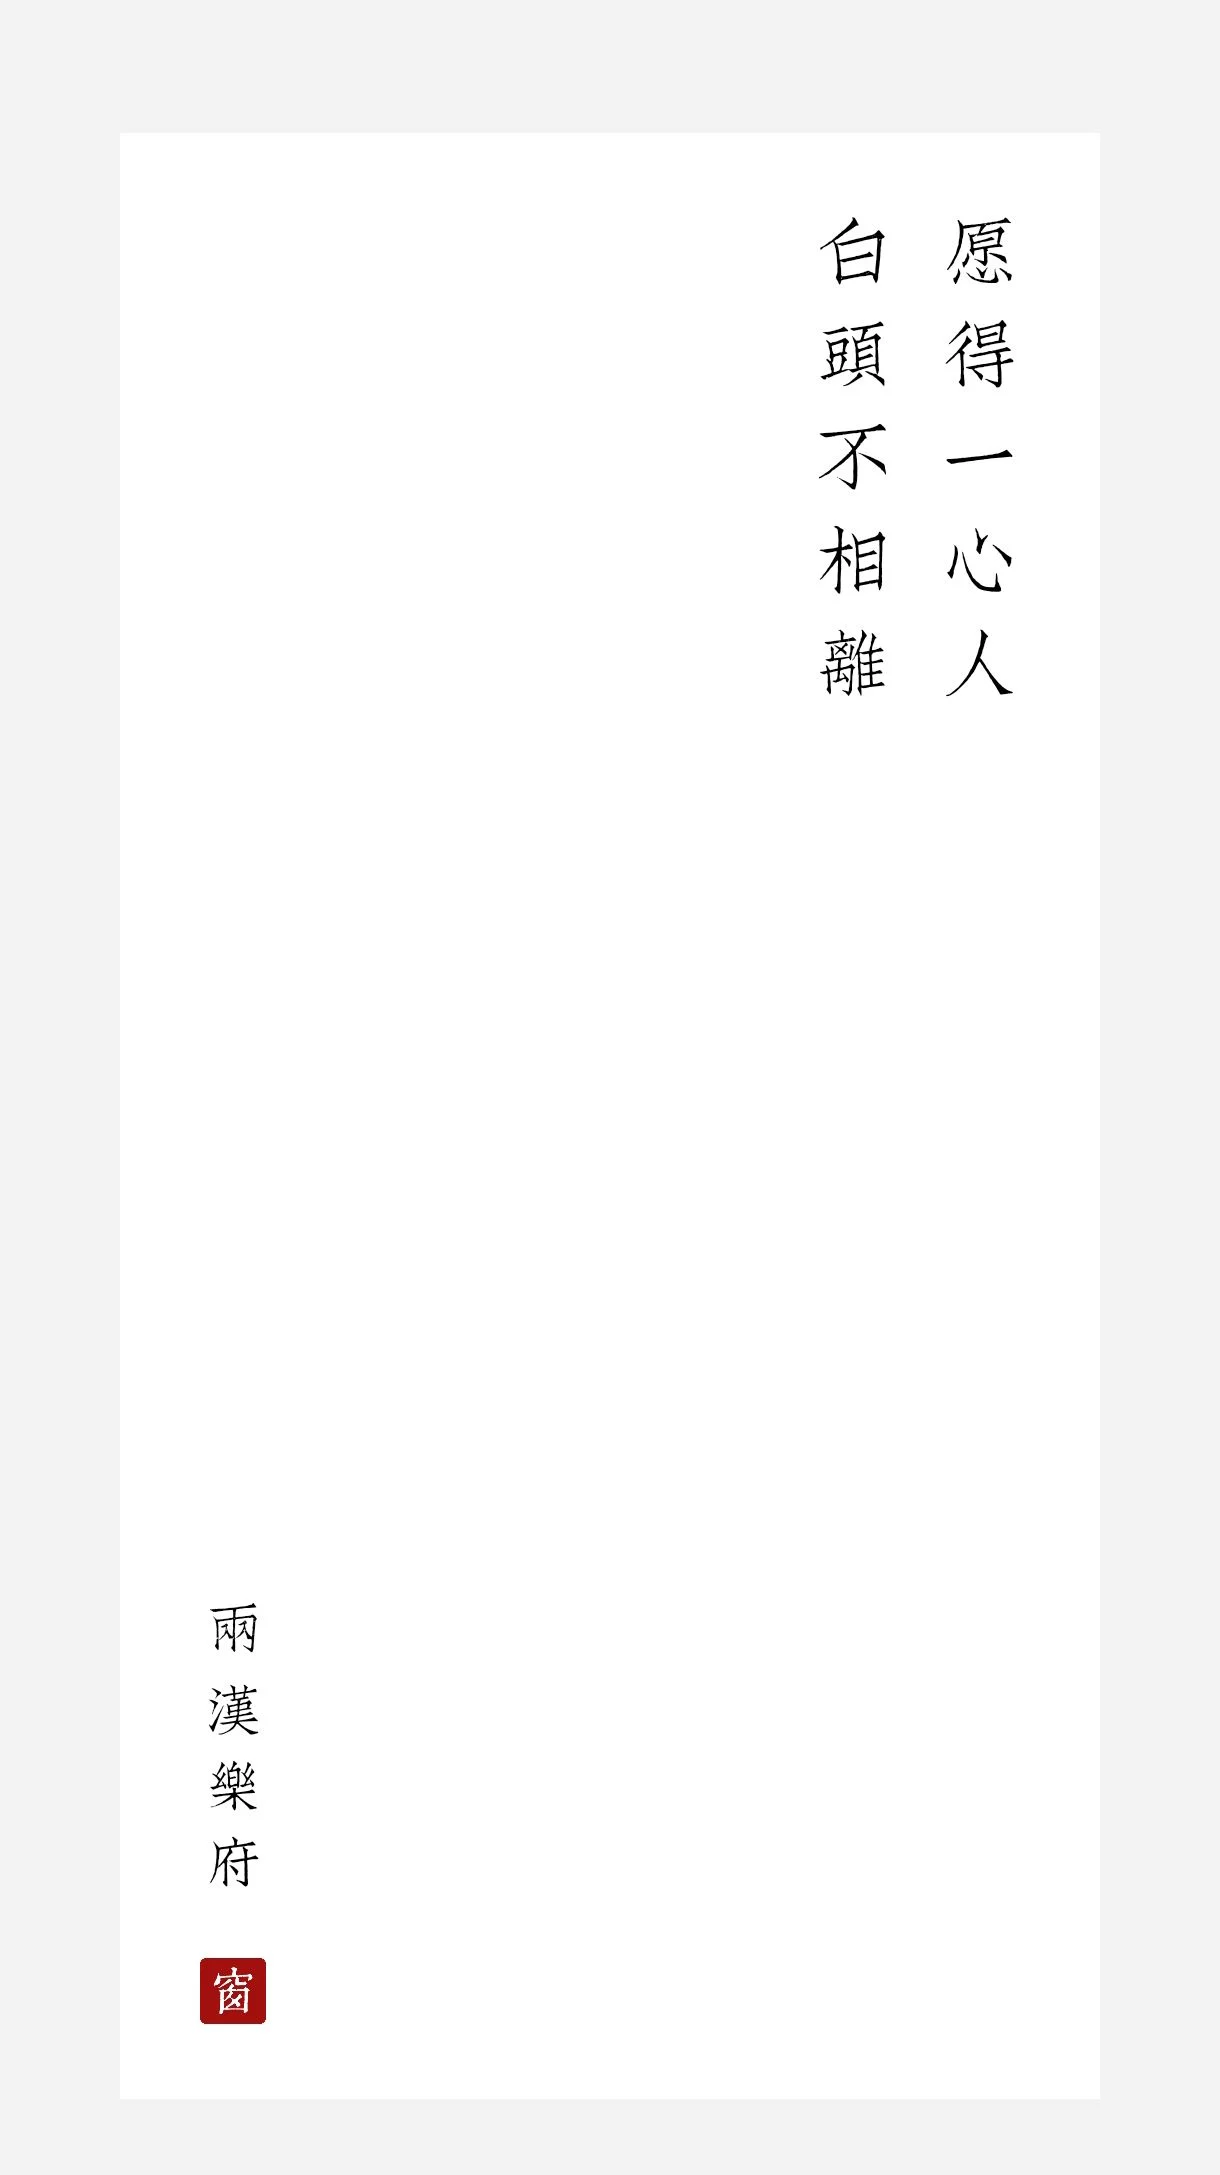
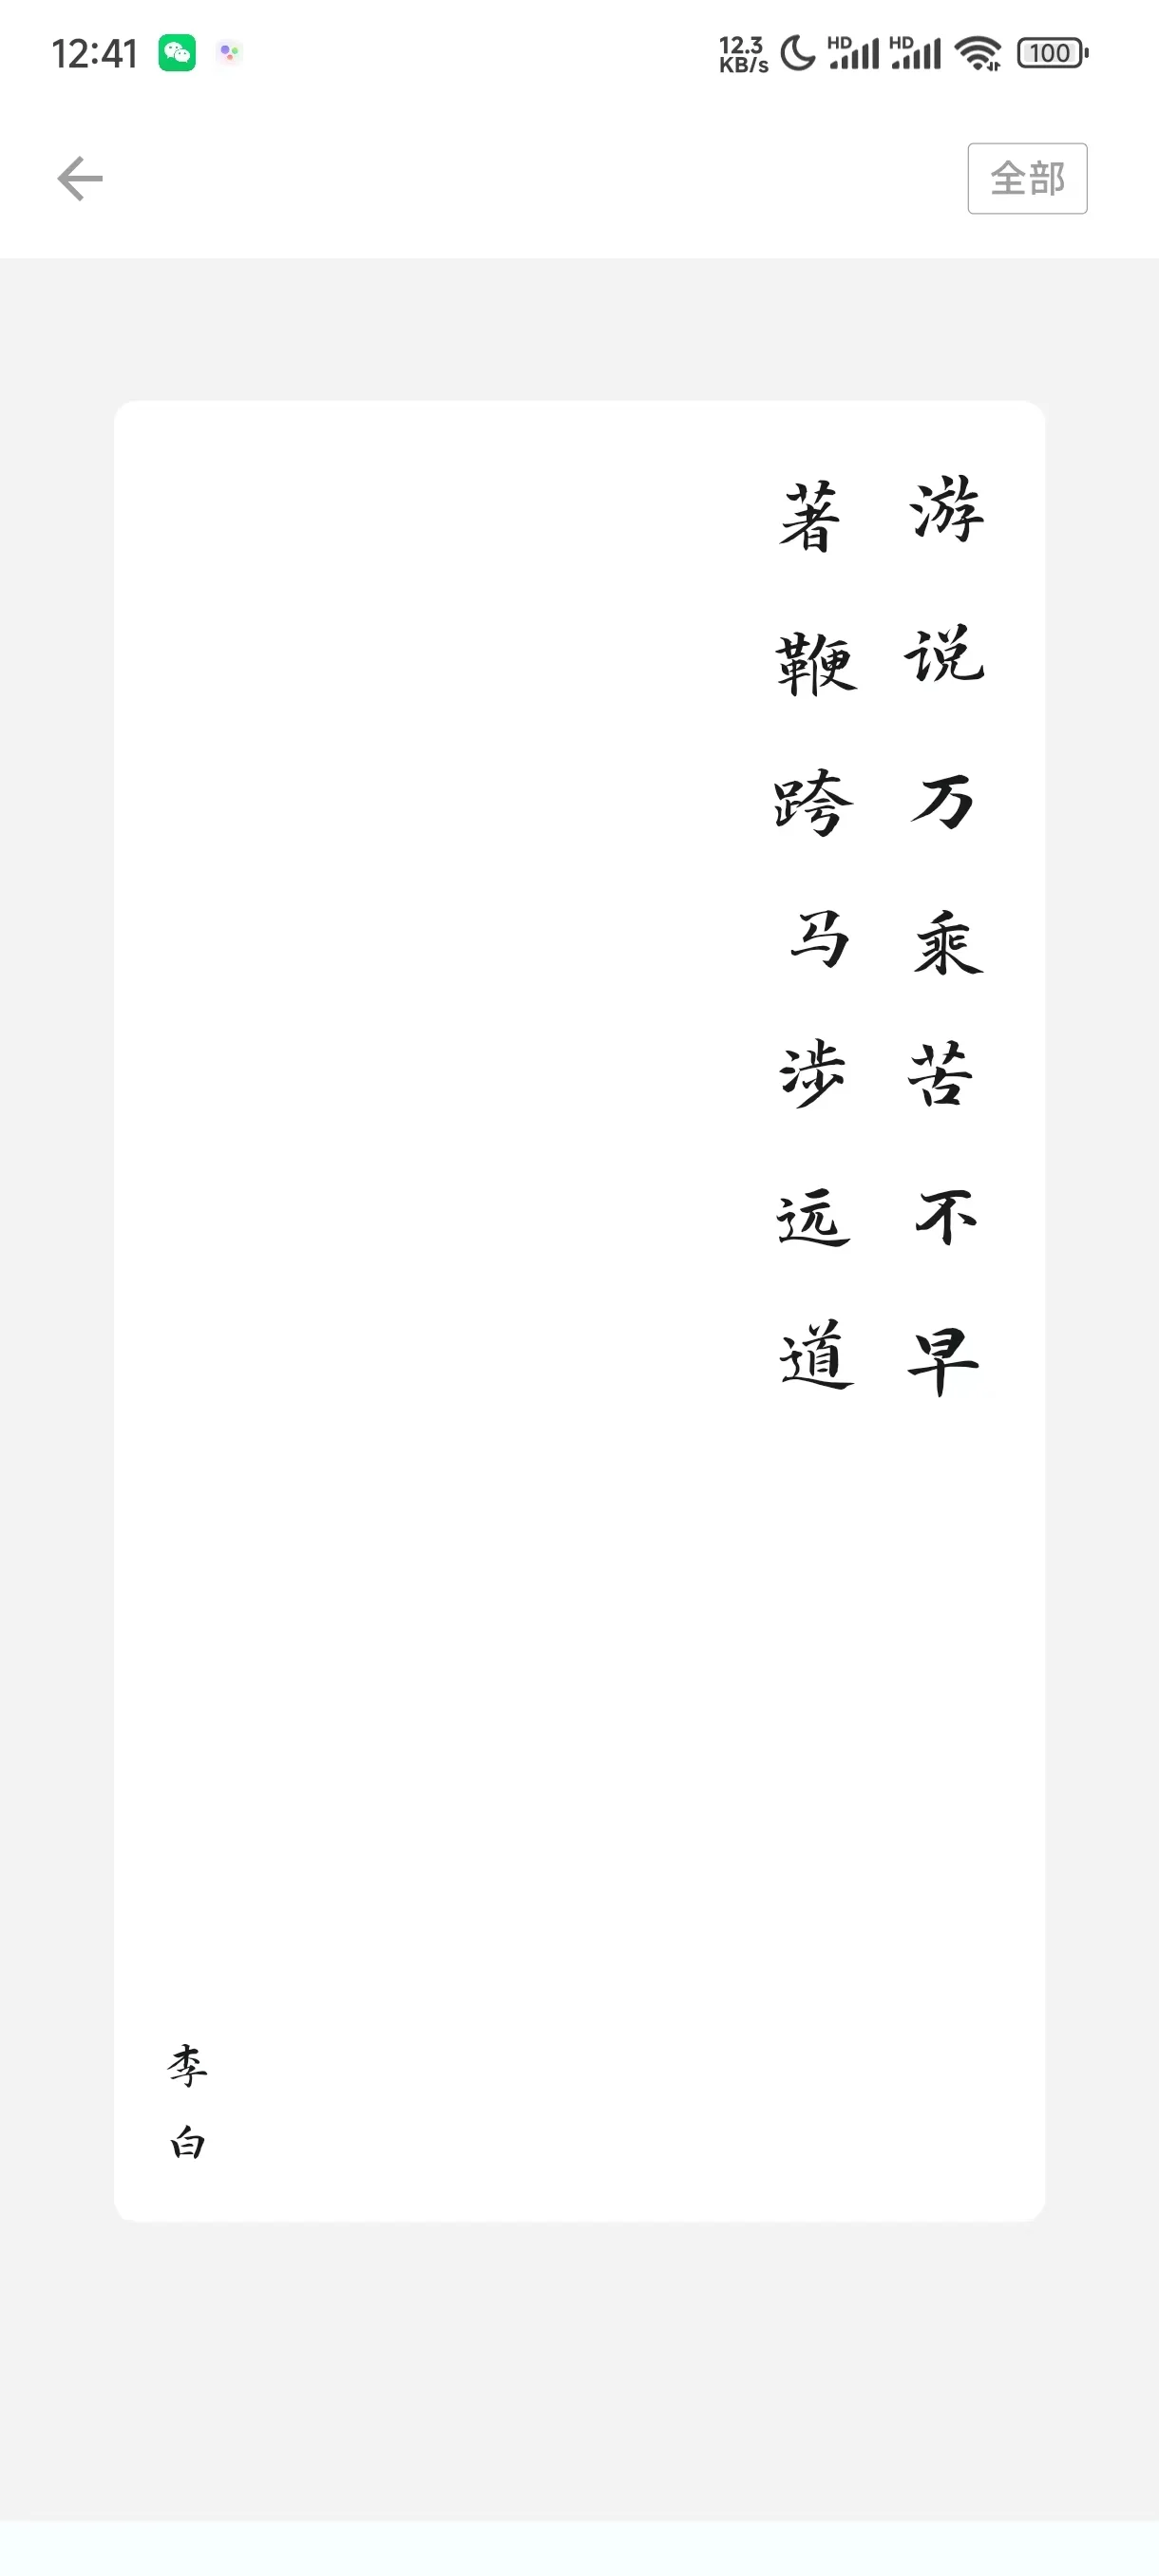
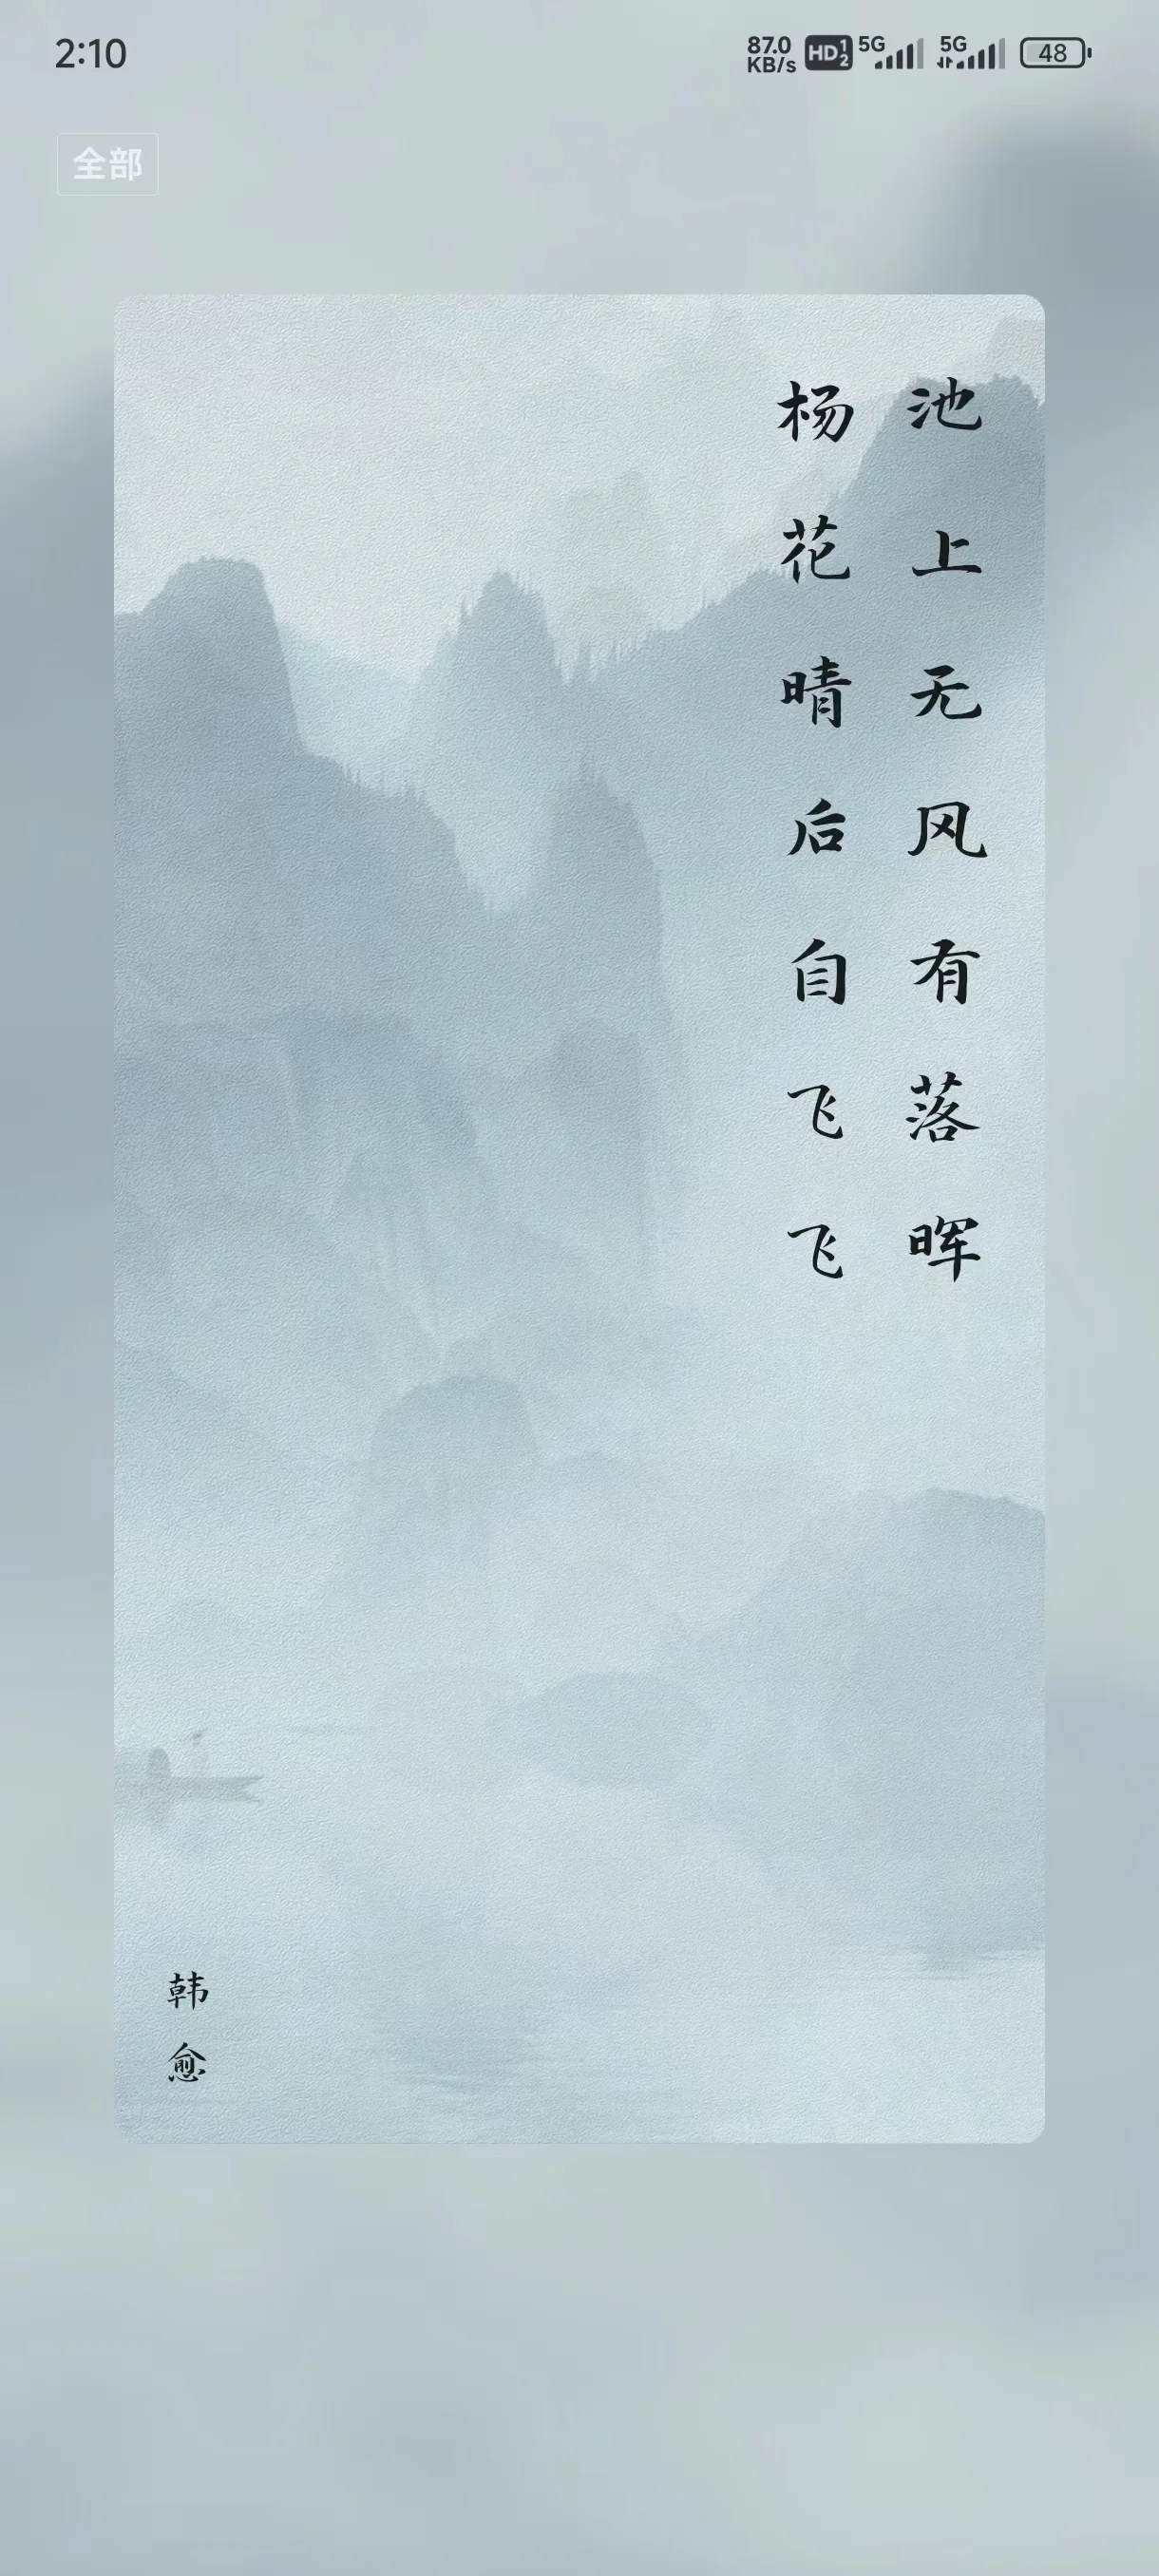
除夕之日心血来潮打开Android Studio准备写一下上次画的饼了(“随机诗词”)。
文笔不好,我写的这些感觉逻辑挺混乱的😂,不知道大家能不能看懂。
有不懂的地方可以在评论区提问,我看到后会及时回复的。
前言
想着模仿一下“西窗烛”的这个页面

刚开始我觉得这个页面会很简单,没想到在开发过程中却并没有想象中的那么简单,第一天,我准备保留app的appbar,将那些功能全部安排在appbar上,第一天我确实是这样做的,并且还玩了一晚上。
效果图:

因为第一天主要写的是页面逻辑,所以页面的ui还比较难看。
这个页面开发成上图之后,我发现了一个问题,页面白了(也就是说数据加载不了了),我马上打开抓包软件抓了一下数据包,发现数据包内容提示,单日api请求已达上限,原来是我请求数据的这个接口会对请求数据进行规定,于是我在第二天进行了换源。
第二天,将api更换并美化了一下UI
效果图:

怎么样好看多了吧!
此功能唯一比较难的地方
其实这个功能比较难的地方就是文本的竖排显示以及从右往左排列,不过好在最后都被我拿下了,哈哈哈。
开工
UI开发
UI的结构图:

UI的嵌套结构就是这样,通过这样的结构实现了模糊以及大方向模仿“西窗烛”。
Scaffold(
body: Container(
decoration: BoxDecoration(
image: DecorationImage(
image: AssetImage('images/gushibeijing.jpeg'),
fit: BoxFit.fill)
),
child: Stack(
children: [
Blur(
blur: 10,
blurColor: Colors.grey,
colorOpacity: 0.2,
child: Container()
),
Column(
children: [
// 状态栏高度填充组件
SizedBox(
height: MediaQuery.of(context).padding.top + 12,
),
// 选择类型组建
Container(
height: 22,
width: double.infinity,
child: Align(
alignment: Alignment.centerLeft,
child: Container(
decoration: BoxDecoration(
border: Border.all(color: Colors.white, width: 0.1
),
borderRadius: BorderRadius.all(Radius.circular(2))),
margin: EdgeInsets.fromLTRB(20, 0, 0, 0),
child: DropdownButton(
dropdownColor: Colors.white10,
underline: Container(height: 0),
value: dropdownValue,
icon: Visibility(
visible: false,
 child: Icon(Icons.arrowdownward)),
items: DropdownMenuItemjson.map((String value) {return DropdownMenuItem<String>(value: value,child: Center(child: Container(margin: EdgeInsets.fromLTRB(5, 0, 5, 0),
child: Text(
value,style: TextStyle(
fontSize: 12.5,fontWeight: FontWeight.bold,
color: Colors.white70,decoration:TextDecoration.none
),
),
)
)
);}).toList(),
onChanged: (Object? value) {if (mounted) {setState(() {_dropdownValue = value.toString();});print('选择的诗词类型$_dropdownValue');}},),),),),// 卡片的组件 Expanded(flex: 1,
child: FutureBuilder(future: runnet(_dropdownValue),
builder: (BuildContext context,AsyncSnapshot<dynamic> snapshot) {
if (snapshot.connectionState ConnectionState.waiting) {
print('加载中');
// 异步操作正在进行中,显示加载指示器
return Center(child: CircularProgressIndicator(),);}
else if (snapshot.hasError) {
print("数据出错");
return Text('Error:{snapshot.data}');
return RefreshIndicator(
child: ListView(children: [Container(height: MediaQuery.of(context).size.height -150,width: MediaQuery.of(context).size.width,child: Container(height: double.infinity,width: double.infinity,margin:EdgeInsets.fromLTRB(40, 0, 40, 105),decoration: BoxDecoration(color: Color(0xB4CCBB79),image: DecorationImage(image: AssetImage('images/gushibeijing.jpeg'),fit: BoxFit.fill,),borderRadius: BorderRadius.all(Radius.circular(8)),),child: FutureBuilder(future: textRenderingcontent(content),builder: (BuildContext context,AsyncSnapshot<dynamic> snapshot) {if (snapshot.connectionState ConnectionState.waiting) {print('加载中');
// 异步操作正在进行中,显示加载指示器
return Center(child:CircularProgressIndicator(),);} else if (snapshot.hasError) {print("数据出错");return Text('Error:{snapshot.data}');return Row(children: [Expanded(flex: 0,child: FutureBuilder(future:_textRendering_author(author),builder: (BuildContextcontext,AsyncSnapshot<dynamic>snapshot) {if (snapshot.connectionState ConnectionState.waiting) {print('加载中');
// 异步操作正在进行中,显示加载指示器
return Center(child:CircularProgressIndicator(),);} else if (snapshot.hasError) {print("数据出错");return Text('Error:{snapshot.data}');return Container(margin:EdgeInsets.all(15),child: Align(alignment: Alignment.bottomLeft,child: Column(mainAxisAlignment:MainAxisAlignment.end,children:snapshot.data,),),);} else {return Container();}},),),Expanded(flex: 1,child: FutureBuilder(future:_textRendering_content(content),builder: (BuildContextcontext,AsyncSnapshot<dynamic>snapshot) {if (snapshot.connectionState ConnectionState.waiting) {print('加载中');
// 异步操作正在进行中,显示加载指示器
return Center(child:CircularProgressIndicator(),);} else if (snapshot.hasError) {print("数据出错");return Text('Error:{snapshot.data}');return Container(margin:EdgeInsets.all(15),child: Align(alignment:Alignment.topRight,child: Row(mainAxisAlignment:MainAxisAlignment.end,children:snapshot.data,)),);} else {return Container();}},),)],);} else {return Container();}},),),)],),onRefresh: _shuaxin);} else {return Container();}},))],)],),),)
这个就是页面UI的全部代码了,代码还可以优化,不过我不是学计算机的,代码能跑就行 哈哈哈
逻辑
下拉框功能实现
下拉框的动态布局变量定义
List<String> DropdownMenuItemjson = ['全部','抒情','四季','山水','天气','人物','人生','生活','节日','动物','植物','食物','古籍']; // 下拉菜单选项var _dropdownValue; // 下拉菜单选中的值下拉框组件代码:
Container(
height: 22,
width: double.infinity,
child: Align(
alignment: Alignment.centerLeft,
child: Container(
decoration: BoxDecoration(
border: Border.all(color: Colors.white, width: 0.1),
borderRadius: BorderRadius.all(Radius.circular(2))),
margin: EdgeInsets.fromLTRB(20, 0, 0, 0),
child: DropdownButton(
dropdownColor: Colors.white10,
underline: Container(height: 0),
value: dropdownValue,
icon: Visibility(visible: false, child: Icon(Icons.arrowdownward)),
items: DropdownMenuItemjson.map((String value) {
return DropdownMenuItem<String>(value: value,child: Center(child: Container(margin: EdgeInsets.fromLTRB(5, 0, 5, 0),child: Text(value,style: TextStyle(fontSize: 12.5,fontWeight: FontWeight.bold,color: Colors.white70,decoration: TextDecoration.none),),)));}).toList(),
onChanged: (Object? value) {
if (mounted) {
setState(() {_dropdownValue = value.toString();});
print('选择的诗词类型$_dropdownValue');}},),),),)
下拉框逻辑函数:
DropdownMenuItemjson.map((String value) {
return DropdownMenuItem<String>(value: value,child: Center(child: Container(margin: EdgeInsets.fromLTRB(5, 0, 5, 0),child: Text(value,style: TextStyle(fontSize: 12.5,fontWeight: FontWeight.bold,color: Colors.white70,decoration: TextDecoration.none),),)));}).toList(),
文字竖排显示
文字竖排诗词排版我是通过将文字以逗号进行分隔获取诗词改获得的列数,然后将诗词以逗号分割转换为列表,分别取出列表里面的内容并获取内容的字符串长度将每一个文字设置为一行,并添加到对应的列中,就这样文字竖排排版显示就完成了
// 文本绘制代码_作者
Future textRenderingauthor(String author) async {
List<Widget> author_widget = []; // 保存作者的组件列表 var textRenderingauthor_length = author.length;for (var i = 0; i < textRenderingauthor_length; i++) {var onetext = author.substring(i, i + 1);
author_widget.add(Text(_one_text,style: TextStyle(fontFamily: "Slidechunfeng", fontSize: 19),));
}return author_widget;
}// 文本绘制代码_诗词
Future textRenderingcontent(String content) async {
List<Widget> content_widget_row = []; // 设置几列的组件列表 String content_list1 = content.replaceAll('。', ',').replaceAll('!', ',').replaceAll('?', ',').replaceAll(';', ',').replaceAll(':', ',').replaceAll('、', ','); // 格式化文本标点符号 var content_list = content_list1.split(","); // 以逗号为分割符,将文本转化为数组 for (var i in content_list) {List<Widget> content_widget_column = []; // 保存诗词的组件列表 // 将数组文本拆分出来
var content_list_length = i.length;for (var j = 0; j < content_list_length; j++) {var onetext = i.substring(j, j + 1);content_widget_column.add(Text(_one_text,style: TextStyle(fontSize: 34, fontFamily: "Slidechunfeng"),));
print(_one_text);}content_widget_row.add(Container(margin: EdgeInsets.fromLTRB(5, 0, 0, 0),child: Column(children: content_widget_column,),));}List<Widget> content_widget_row_reversed =content_widget_row.reversed.toList(); // 将列表数据倒序 return content_widget_row_reversed;}
然后就有这样的效果了
背景模糊
背景模糊使用blur插件实现
方法就是,使用Stack()组件将卡片进行脱离文本流然后将背景模糊这样就实现了高斯模糊。
Blur(blur: 10,blurColor: Colors.grey,colorOpacity: 0.2,child: Container()),